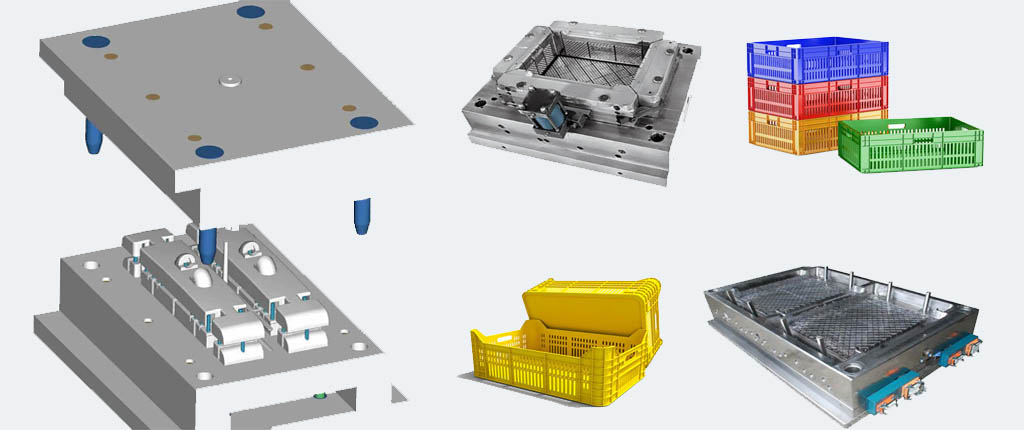
Expert Guide to Creating 4L 19L and 20L Plastic Bucket Molds
Paint buckets usually specification have 1 gallon (3.785 liters about 4L), 5 gallons (18.927 liters about 19L), 20 liters, and 55 gallons.Creating a 4L,19L and 20L plastic paint bucket is a process that requires precision, expertise, and the right tools. One of the most critical components of this process is crafting the perfect injection mold for plastic paint bucket. This article will guide you through the essential steps to design and create a good plastic paint bucket mold that will produce high-quality plastic paint buckets every time.
Table of Contents
ToggleUnderstanding Injection Molding
Before we dive into the specifics of crafting a 4L 19L 20L Plastic Paint Bucket Molds, it’s important to understand the basics of injection molding. Injection molding is a manufacturing process where material, usually plastic, is melted and then injected into a mold. The mold is then cooled, and the part is ejected. This process allows for the creation of complex shapes and designs with a high degree of accuracy.
Step 1: Define the Specifications 4L 19L 20L plastic paint bucket mold
The first step in crafting the perfect injection mold is to define the specifications of the plastic paint bucket. This includes the size, shape, volume, and any specific features such as handles or pouring spouts. Consider the material that will be used for the bucket, as this will influence the mold design and the injection molding process.

Step 2: Design the Plastic Paint Bucket Mold
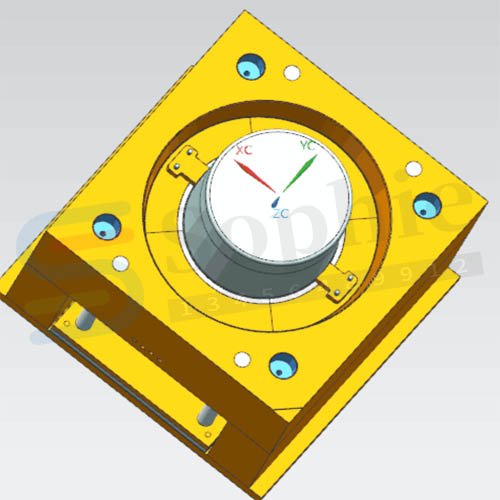
With the specifications in hand, the next step is to design the mold. This involves creating a 3D model of the bucket and then designing the bucket mold that will produce it. Software like CAD (Computer-Aided Design) is essential for this step, as it allows for precise measurements and design adjustments.
- Draft Angles: Ensure that the plastic bucket mold has the correct draft angles to allow for easy ejection of the finished product.
- Gates and Runners: Design the gates and runners, which are the channels through which the melted plastic enters the bucket mold. These should be strategically placed to minimize material waste and ensure even distribution of plastic.
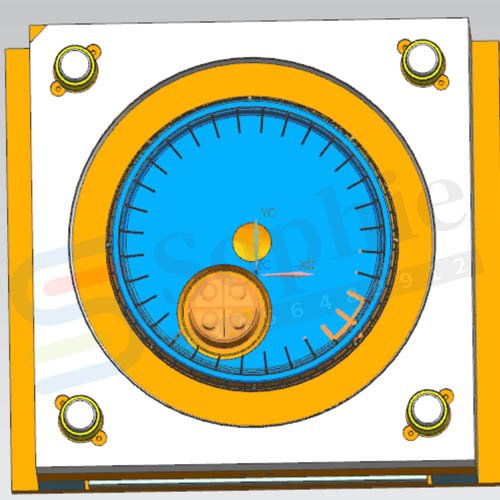
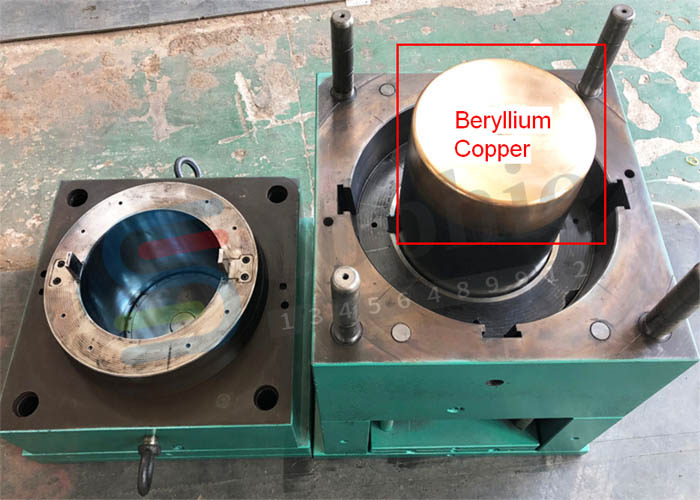
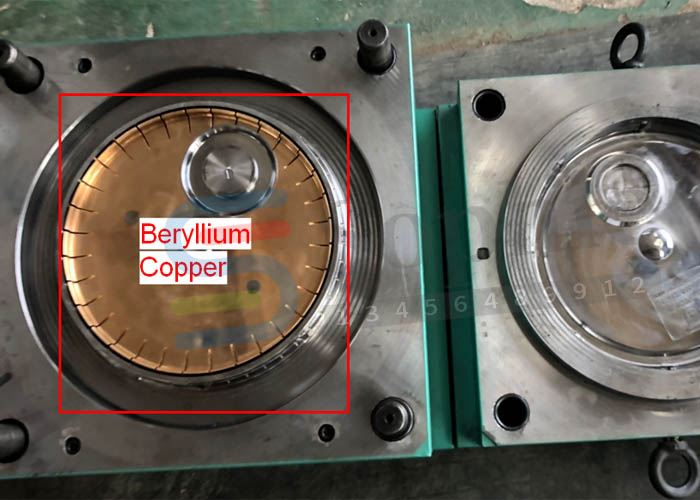
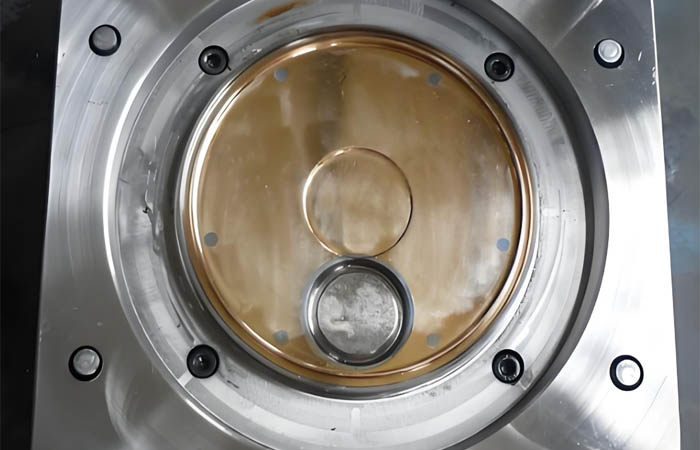
- Cooling: Beryllium bronze design for rapid cooling of the mold, greatly reducing mold cycle time.The effectiveness of a bucket mold’s cooling system is crucial and is largely determined by the dimensions and wall thickness of the bucket. If the cooling lines are undersized, they may not provide adequate cooling, potentially resulting in a delayed cooling process for the mold. This can lead to undesirable surface defects such as heat coronas, which can mar the appearance of the finished product. To address this, incorporating a multi-loop cooling system is essential. This design not only facilitates rapid cooling but also ensures uniform temperature distribution throughout the mold. This uniformity is key to preventing surface defects and maintaining the aesthetic quality of the plastic buckets.
Step 3: Paint Bucket Mold Material Selection
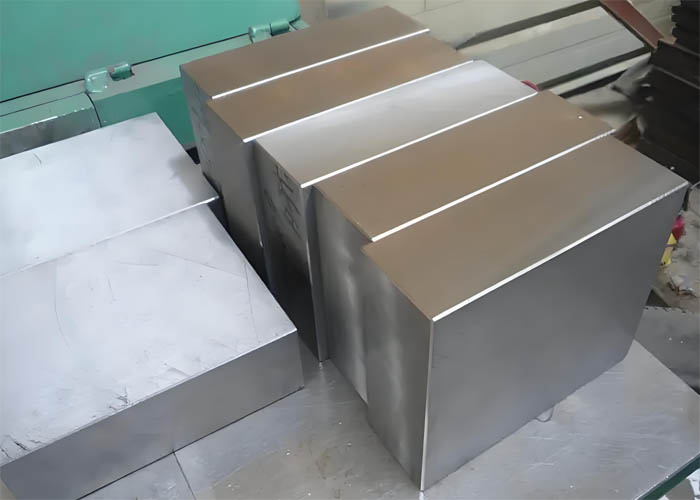
The choice of material for the plastic bucket mould is crucial. Steel is commonly used due to its durability and heat resistance. However, the specific type of steel or other materials like 718H or plastic may be chosen based on the production volume, cost, and the type of plastic being used for the bucket.
Step 4: CNC Machining
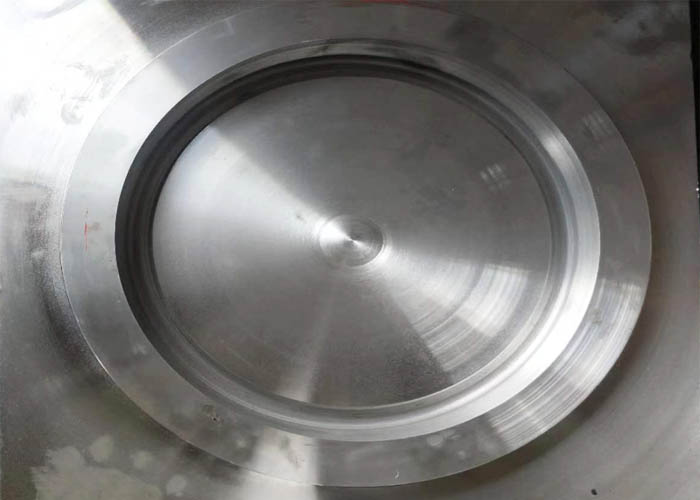
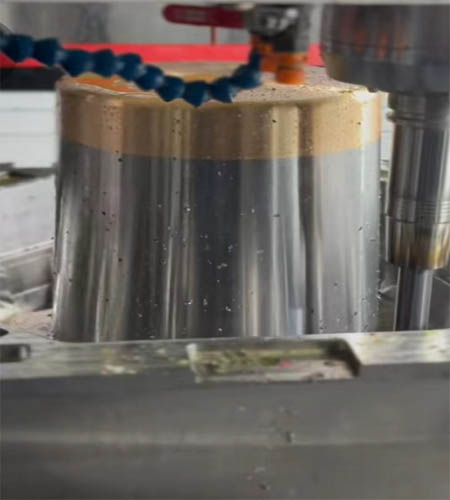
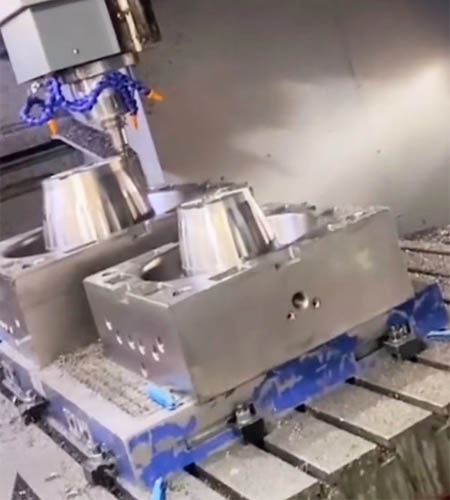
Once the design is complete, the mold is typically created using CNC (Computer Numerical Control) machining. This process ensures high precision and allows for complex geometries to be accurately produced. The mold is cut from a solid block of material, following the design specifications.
Step 5: Assembly and Testing Injection bucket Mould
After the bucket mould is machined, it must be assembled and tested. This involves:
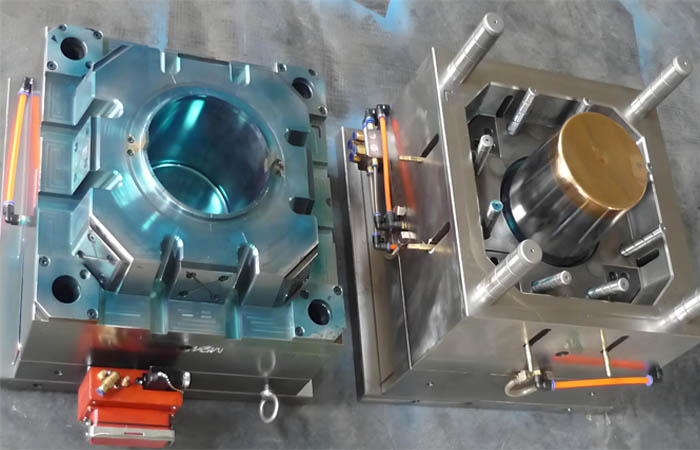
- Assembling the Bucket Mould: The various parts of the mould, including the core and cavity, must be assembled correctly.
- Testing the injection bucket mould: Run a few test cycles to ensure the bucket mould functions correctly and produces the desired shape without defects.
Step 6: Injection Molding Process Plastic bucket mould
With a tested and approved mold, you can now proceed with the injection molding process:
- Melting the Plastic: The plastic material is melted in a hopper,plastic buckets are usually made of PP, HDPE.
- Injection: The melted plastic is injected into the bucket mould.
- Cooling: The plastic bucket mold is cooled, allowing the plastic to solidify.
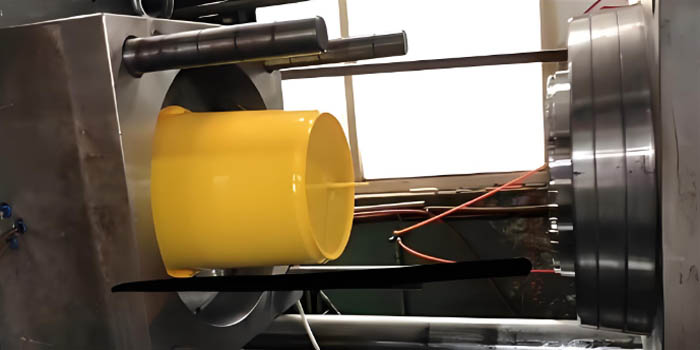
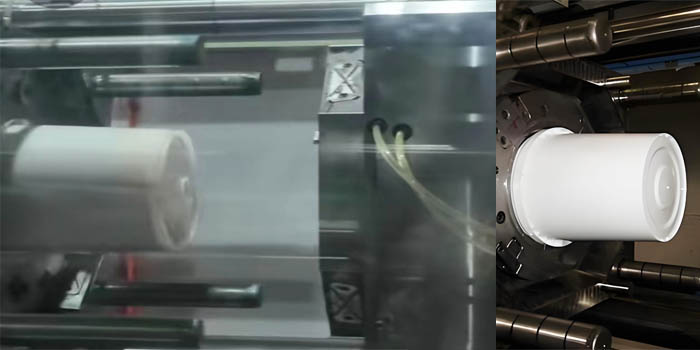
- Ejection: Once solidified, the plastic paint bucket is ejected from the mold.
Step 7: Post-Processing plastic injection bucket mold
After the plastic buckets are produced, they may require post-processing such as trimming, smoothing, or adding additional features like handles.
Step 8: Quality Control plastic bucket injection mold
Every batch of plastic injection paint buckets should undergo quality control checks to ensure they meet the required specifications and are free from defects.
How to do a drop test on a paint bucket
When performing a drop test on a paint bucket, several factors need to be considered to ensure the accuracy and standardization of the test. Here are some key steps and points based on the search results:
- Test principle: The principle of the drop test is to drop the paint bucket from a specified height onto a hard, flat horizontal surface to assess the paint bucket’s ability to withstand vertical impact and protect the contents.
- Test conditions: The drop height, number of drops, and drop surface need to be determined during the test. These conditions are usually set based on the weight of the paint bucket and the product standard.
- Pre-test preparation: Before the drop test, the paint bucket needs to be functionally, safely, and visually inspected to ensure that the paint bucket is in normal condition before the test.
- Test method: The drop test of the paint bucket can include free drop and package drop. Free drop usually simulates a drop that may occur during handling, while package drop includes testing the finished product and the outer packaging together.
- Test equipment: Specialized drop test equipment can be used to improve the standardization and efficiency of the test. For example, a paint bucket drop test device may include a hanging device and a lifting mechanism to ensure that the paint bucket is not affected by external forces during the drop process, so as to obtain accurate test data.
- Test process: During the test, the paint bucket should fall freely from a set height according to the specified drop method (such as one corner, three sides, and six sides). The drop height is determined according to the weight of the product and is divided into different levels.
- Test result evaluation: After the test is completed, the damage of the paint bucket needs to be evaluated to determine whether it meets the quality standards.
- Technical implementation: In order to improve the accuracy and efficiency of the test, an automated test device can be used, such as a paint bucket drop detection device, which uses a winding device to lift the paint bucket to a specified height and then perform a drop test, so as to standardize the test method and simplify the operation.
- Selection of drop test machine: Selecting a suitable drop test machine is crucial to ensure the accuracy of the test results. The drop test machine should have an adjustable drop height, an electric lifting function, and be able to adapt to test pieces of different sizes and weights.
Through these steps and methods, the paint bucket can be effectively drop tested to ensure its durability and safety during transportation and handling.
Plastic Paint bucket Injection Mold Detail
The detailed information of paint bucket mold can be understood from the following aspects:
- Mold Steel: Paint bucket molds have high requirements for materials. The steel materials usually selected need to have the characteristics of corrosion resistance and good polishing. For example, 718H, H13.
- Number of cavities: The number of cavities of 1L and 5L molds can be customized to 2 cavities according to production requirements, and 19L or 20L can only make 1 cavity.
- Runner system: Hot runner is used to improve the accuracy and production efficiency of the product to optimize the injection molding process.
- Cooling system: The circulating water method is adopted. At the same time, we only make the core and cavity of the bucket mold into copper beryllium to speed up the injection molding cycle and improve the cooling efficiency.
- Mold accessories: The inserts, guide pillars, guide sleeves, sliders, slider sleeves, inclined top blocks, etc. in the paint bucket mold use wear-resistant standard parts to increase the service life of the mold.
- Surface treatment: The mold surface is usually mirror polished to meet the high-gloss appearance requirements of the paint bucket.
- Production cycle and life: The production cycle of the paint barrel mold is 20-30 seconds, the target mold life is 30-5 million times, and the time for mold manufacturing is about 60 days. Time: The cycle of the paint barrel mold we made is 20-25 seconds.
When choosing a paint bucket mold, you need to consider these details to ensure that the mold can meet production needs and product quality standards.
Wrapping Up: Essential Strategies for High-Quality Paint Bucket Molds
Crafting the perfect injection mold for a plastic paint bucket is a detailed and technical process that requires careful planning and execution. By following the steps outlined in this guide, you can create a mold that will produce consistent, high-quality plastic paint buckets molds. Remember, the key to success in injection molding is attention to detail, precision, and a commitment to quality at every stage of the process.

